Spring Boot 整合视图层技术,application全局配置文件,
分享于 点击 34183 次 点评:148
Spring Boot 整合视图层技术,application全局配置文件,
目录
- Spring Boot 整合视图层技术
- Spring Boot 整合jsp
- Spring Boot 整合freemarker
Spring Boot 整合视图层技术
Spring Boot 整合jsp
Spring Boot 整合Freemarker
Spring Boot 整合 Thymeleaf  (重点讲解,官方推荐)
Spring Boot 整合jsp
Spring Boot 整合jsp
Spring Boot 整合Freemarker
Spring Boot 整合 Thymeleaf (重点讲解,官方推荐)
步骤:
 <parent>
        <groupId>org.springframework.boot</groupId>
        <artifactId>spring-boot-starter-parent</artifactId>
        <version>2.2.4.RELEASE</version>
    </parent>
    <dependencies>
        <!-- spring boot web启动器 -->
        <dependency>
            <groupId>org.springframework.boot</groupId>
            <artifactId>spring-boot-starter-web</artifactId>
        </dependency>
        <!-- jstl -->
        <dependency>
            <groupId>javax.servlet</groupId>
            <artifactId>jstl</artifactId>
        </dependency>
        <!-- jasper:jsp引擎 -->
        <dependency>
            <groupId>org.apache.tomcat.embed</groupId>
            <artifactId>tomcat-embed-jasper</artifactId>
        </dependency>
    </dependencies>
- 编写控制器Controller(不访问数据库)
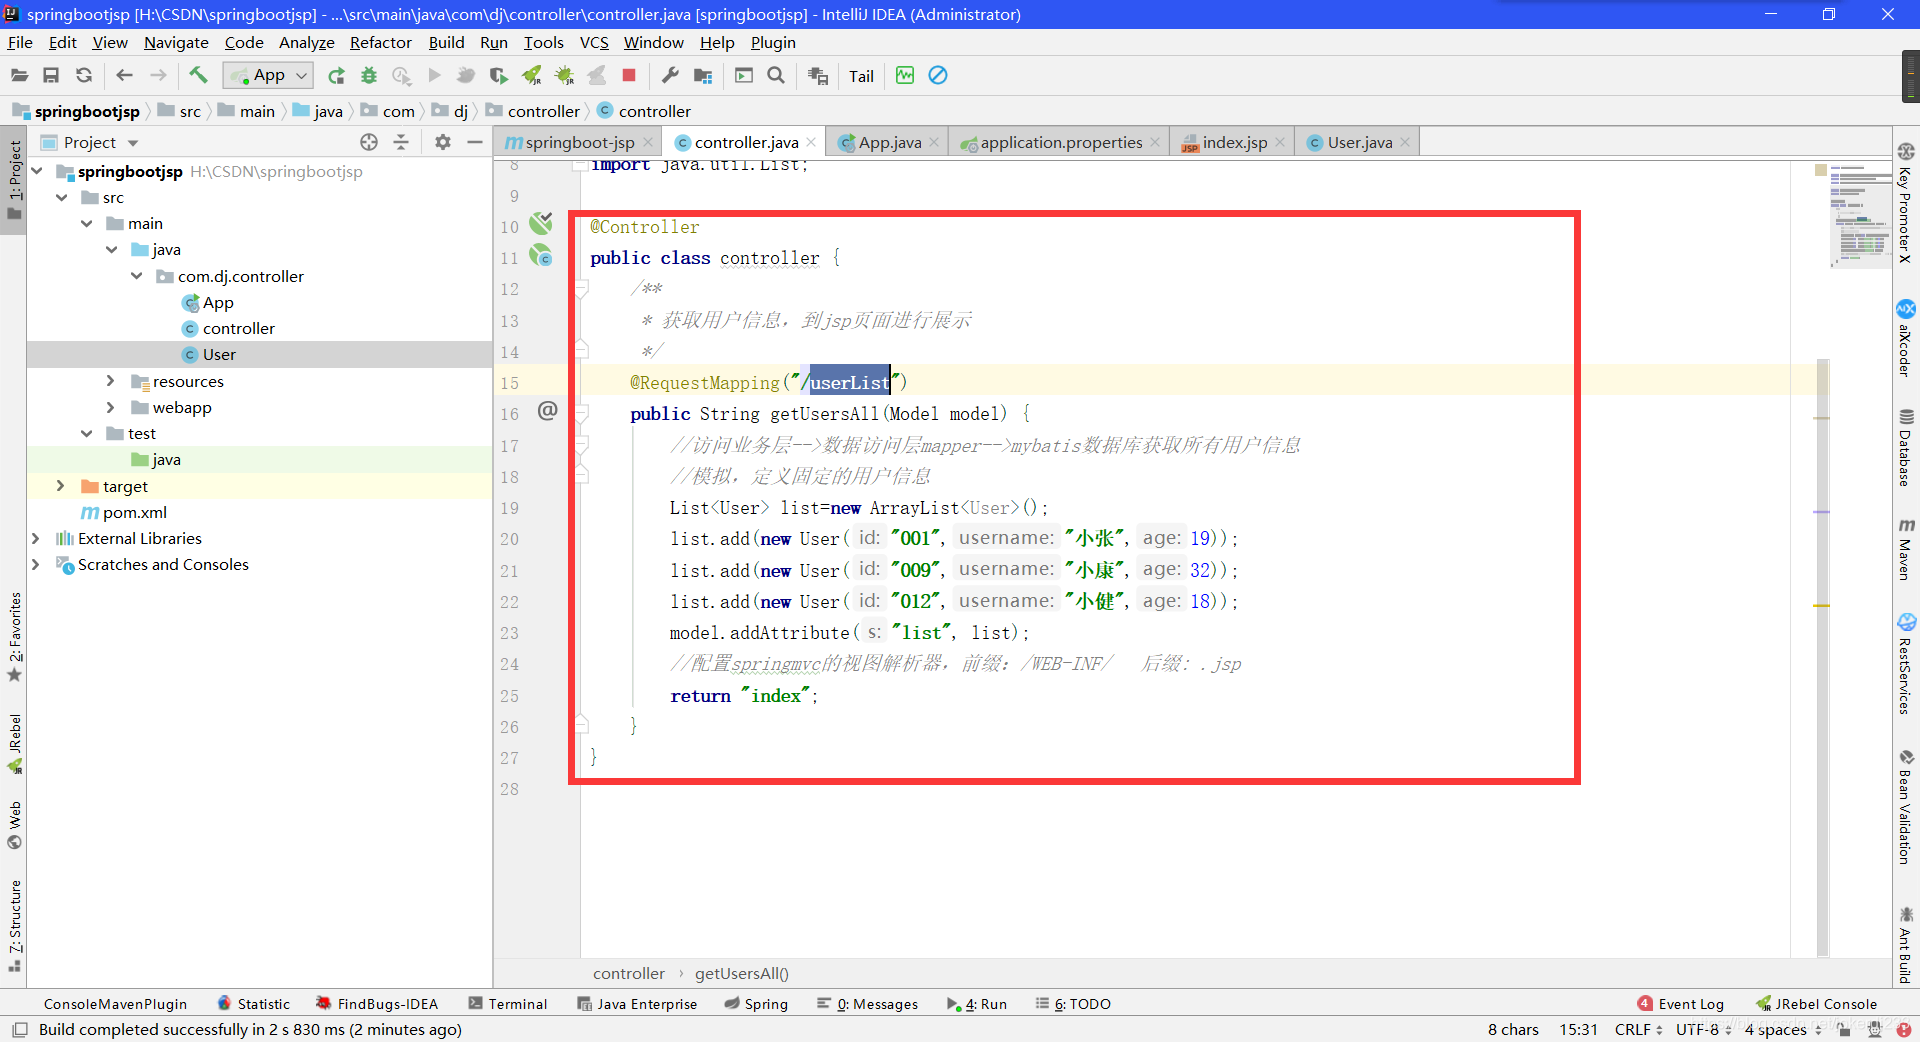
代码如下:
@Controller
public class UserController {
	/**
	 * 获取用户信息,到jsp页面进行展示
	*/
	@RequestMapping("/userList")
	public String getUsersAll(Model model) {
		//访问业务层-->数据访问层mapper-->mybatis数据库获取所有用户信息
		//模拟,定义固定的用户信息
		List<User> list=new ArrayList<User>();
		list.add(new User("007", "小张", 22));
		list.add(new User("009","小康",32));
		list.add(new User("012","小健",18));
		model.addAttribute("list", list);
		//配置springmvc的视图解析器,前缀:/WEB-INF/   后缀: .jsp
		return "index";
	}
}
- 创建Spring Boot的全局配置文件 application.properties
src/main/resources-->创建-->application.properties
Spring boot默认识别两个全局配置文件:application.properties和application.yml
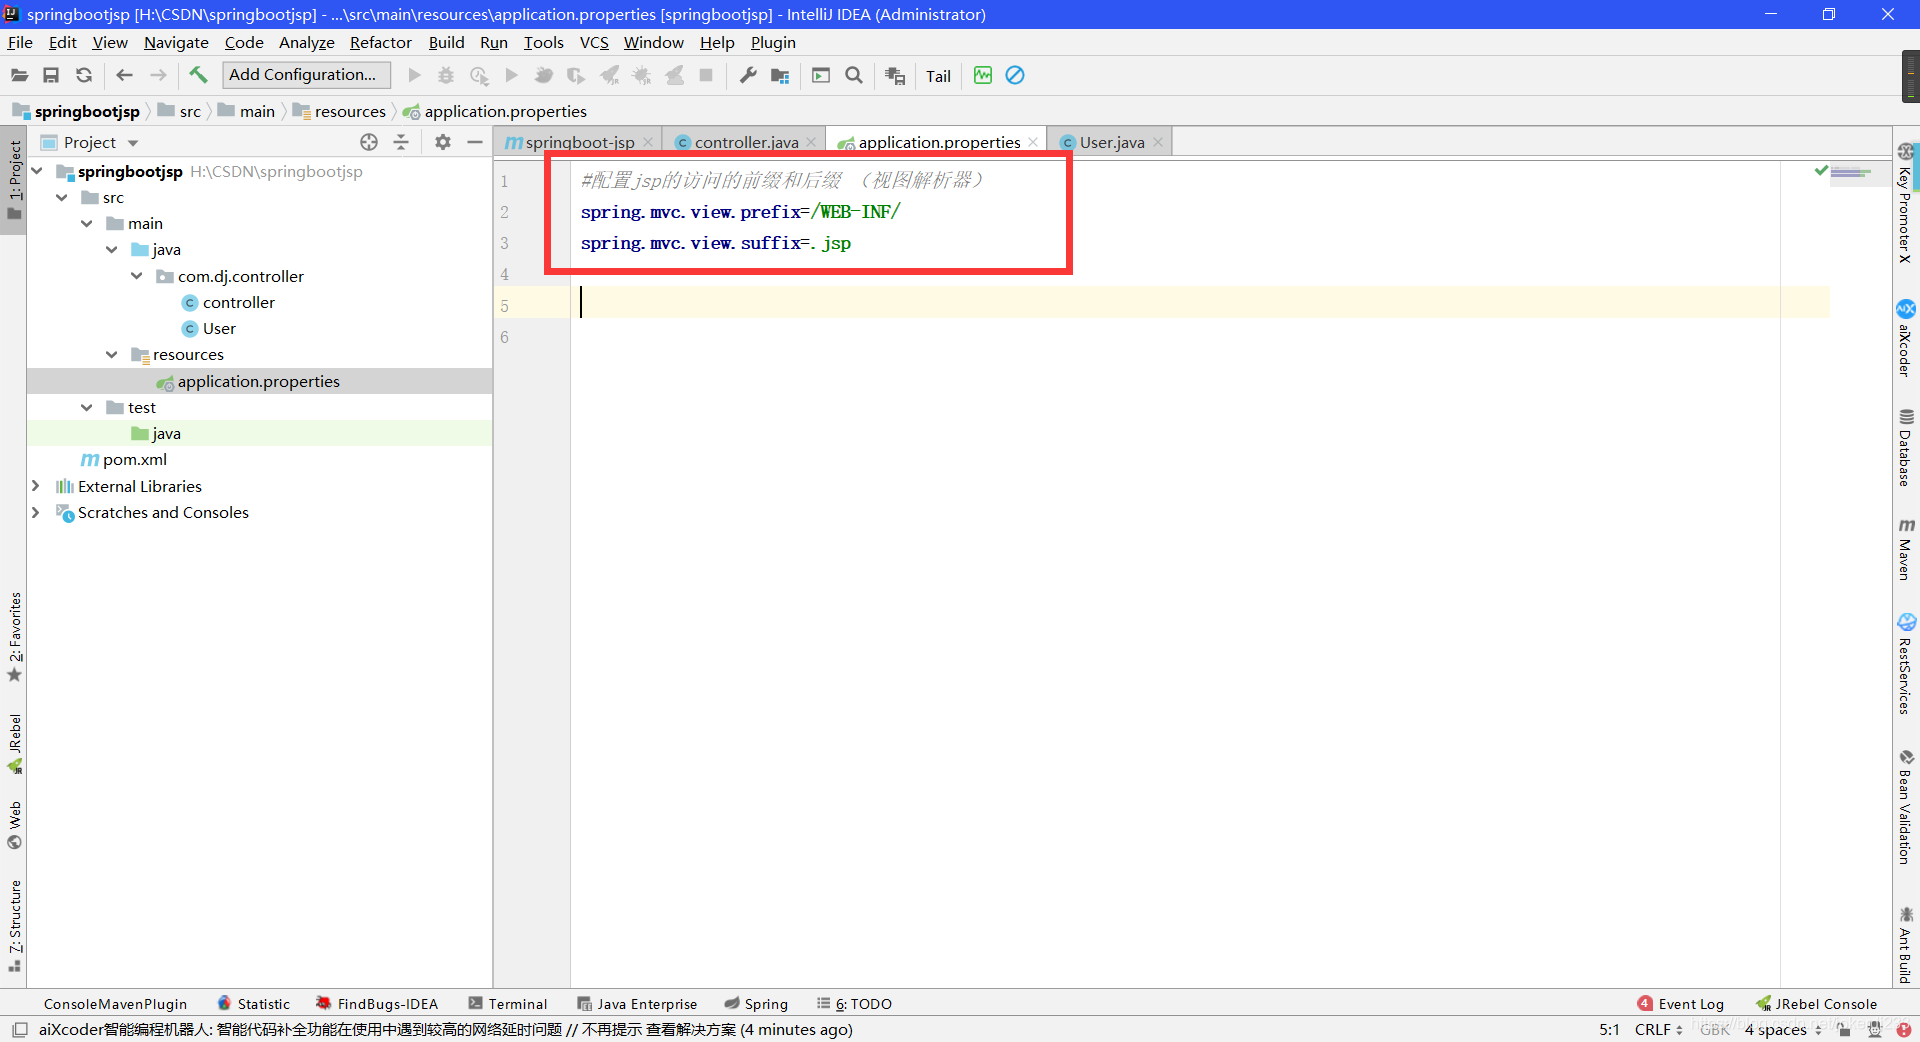
代码:
#配置jsp的访问的前缀和后缀 (视图解析器)
spring.mvc.view.prefix=/WEB-INF/
spring.mvc.view.suffix=.jsp
- 视图层 jsp
src/main-->webapp-->WEB-INF-->index.jsp
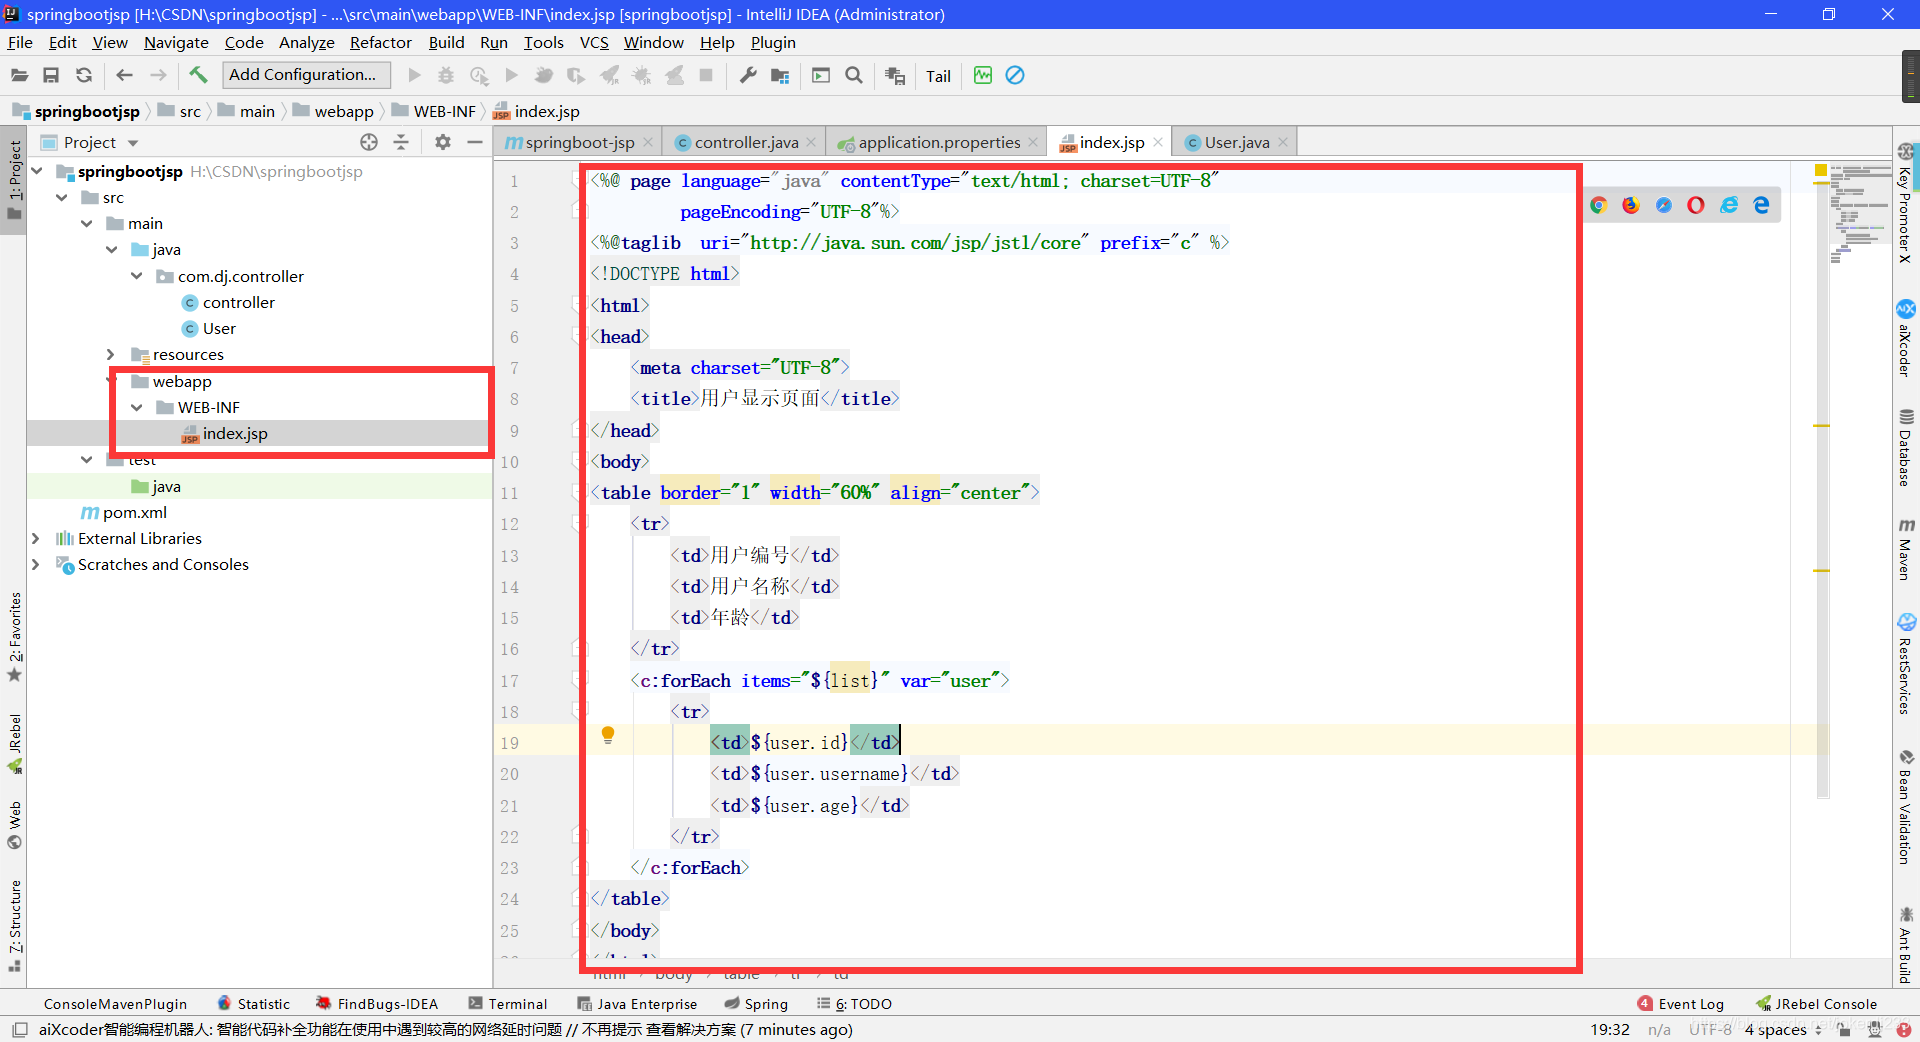
代码:
<%@ page language="java" contentType="text/html; charset=UTF-8"
         pageEncoding="UTF-8"%>
<%@taglib  uri="http://java.sun.com/jsp/jstl/core" prefix="c" %>
<!DOCTYPE html>
<html>
<head>
    <meta charset="UTF-8">
    <title>用户显示页面</title>
</head>
<body>
<table border="1" width="60%" align="center">
    <tr>
        <td>用户编号</td>
        <td>用户名称</td>
        <td>年龄</td>
    </tr>
    <c:forEach items="${list}" var="user">
        <tr>
            <td>${user.id}</td>
            <td>${user.username}</td>
            <td>${user.age}</td>
        </tr>
    </c:forEach>
</table>
</body>
</html>
- 启动类
@SpringBootApplication
public class App {
    public static void main(String[] args) {
        SpringApplication.run(App.class, args);
    }
}
- 运行 浏览器输入 localhost:8080/userList

Spring Boot 整合freemarker
<dependencies>
     <!--spring boot web 启动器坐标 -->
     <dependency>
     	<groupId>org.springframework.boot</groupId>
    	<artifactId>spring-boot-starter-web</artifactId>
     </dependency>

     <!-- freemarker 启动器坐标 -->
     <dependency>
     	<groupId>org.springframework.boot</groupId>
    	<artifactId>spring-boot-starter-freemarker</artifactId>
     </dependency>
  </dependencies>
- 编写控制器Controller

- 视图层 freemarker
freemarker 页面必须放入src/main/resources下的templates目录下,并且页面的扩展名为:ftl

代码:
<!DOCTYPE html>
<html>
<head>
<meta charset="UTF-8">
<title>用户显示页面</title>
</head>
<body>
   <table border="1" width="60%" align="center">
       <tr>
       	  <td>用户编号</td>
       	  <td>用户名称</td>
       	  <td>年龄</td>
       </tr>
	   <!--freemarker获取request传过来的数据  <#数据类型  key类型 as 遍历元素名称>-->
	   <#list list as user>
	       <tr>
	       	  <td>${user.id}</td>
	       	  <td>${user.username}</td>
	       	  <td>${user.age}</td>
	       </tr>
	   </#list>
   </table>
</body>
<html>
- 创建Spring Boot的全局配置文件 application.properties
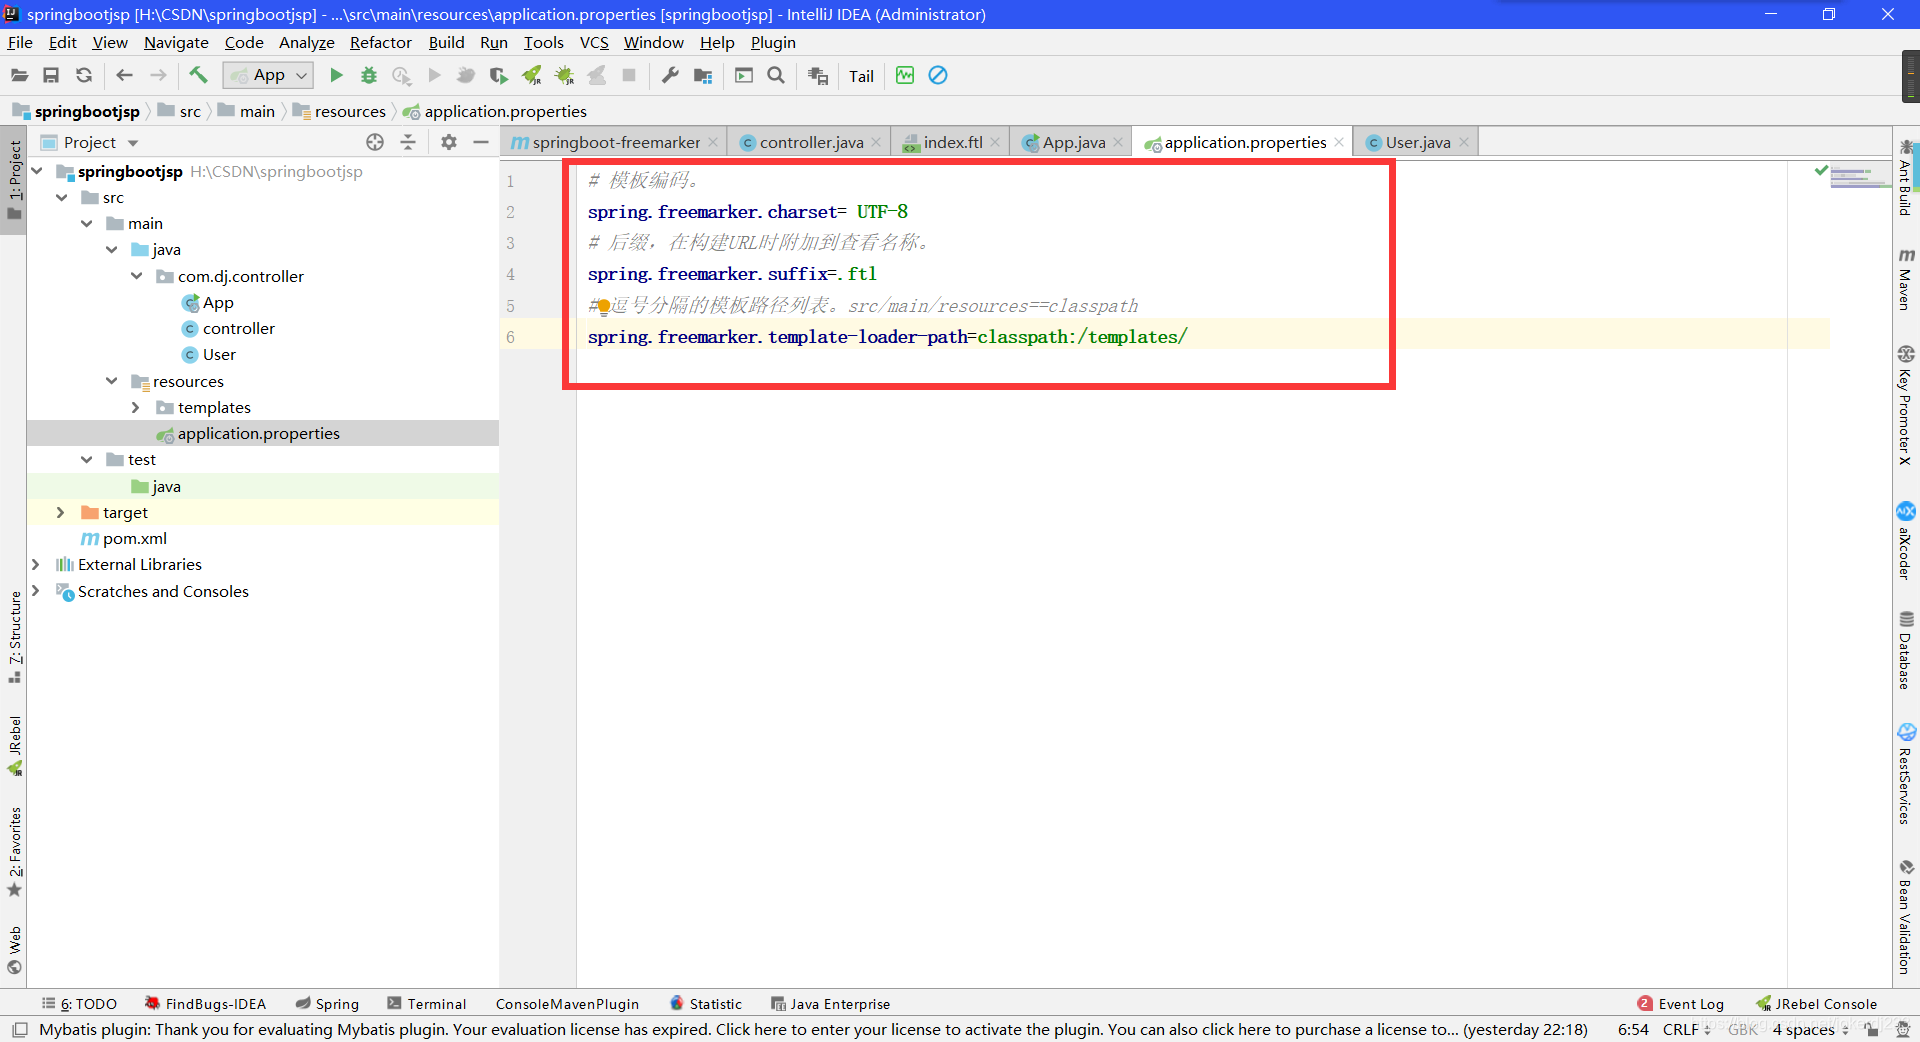
代码:
# 模板编码。
spring.freemarker.charset= UTF-8
# 后缀,在构建URL时附加到查看名称。
spring.freemarker.suffix=.ftl
# 逗号分隔的模板路径列表。src/main/resources==classpath
spring.freemarker.template-loader-path=classpath:/templates/
server.port=8081
- 启动类
@SpringBootApplication
public class App {
	public static void main(String[] args) {
		SpringApplication.run(App.class, args);
	}
}
<dependencies>
<!--spring boot web 启动器坐标 -->
<dependency>
<groupId>org.springframework.boot</groupId>
<artifactId>spring-boot-starter-web</artifactId>
</dependency>
<!-- freemarker 启动器坐标 -->
<dependency>
<groupId>org.springframework.boot</groupId>
<artifactId>spring-boot-starter-freemarker</artifactId>
</dependency>
</dependencies>
freemarker 页面必须放入src/main/resources下的templates目录下,并且页面的扩展名为:ftl
代码:
<!DOCTYPE html>
<html>
<head>
<meta charset="UTF-8">
<title>用户显示页面</title>
</head>
<body>
<table border="1" width="60%" align="center">
<tr>
<td>用户编号</td>
<td>用户名称</td>
<td>年龄</td>
</tr>
<!--freemarker获取request传过来的数据 <#数据类型 key类型 as 遍历元素名称>-->
<#list list as user>
<tr>
<td>${user.id}</td>
<td>${user.username}</td>
<td>${user.age}</td>
</tr>
</#list>
</table>
</body>
<html>
代码:
# 模板编码。
spring.freemarker.charset= UTF-8
# 后缀,在构建URL时附加到查看名称。
spring.freemarker.suffix=.ftl
# 逗号分隔的模板路径列表。src/main/resources==classpath
spring.freemarker.template-loader-path=classpath:/templates/
server.port=8081
@SpringBootApplication
public class App {
public static void main(String[] args) {
SpringApplication.run(App.class, args);
}
}
运行

相关文章
- 暂无相关文章
用户点评